

You could say that makeup and I have a love/hate relationship. I’m mad about makeup and love nothing more than trying out a new product, but I’m not that skilled when it comes to applying it.
I have always been more of a beauty products gal – face cream, exfoliating scrubs, you name it, I love it. However, since launching my beauty blog a few months ago, it has become apparent that if I want to keep up with the rest of the beauty bloggers, I need to master makeup. (Even the super tricky parts, like liquid eyeliner – gulp.)
Luckily for me, the fiancé’s sister works for a high-end makeup brand and is currently undergoing all the best training. While she was down over Christmas, she did my makeup for me, shared tips, and talked me through areas of makeup application that I was stuck on. While she talked, I took notes, and since then have been practicing like crazy. (I think I’ve mastered the art of makeup application once and for all!)
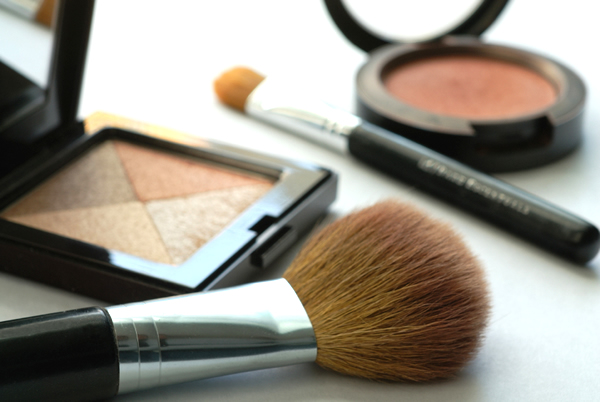
Let’s talk brushes
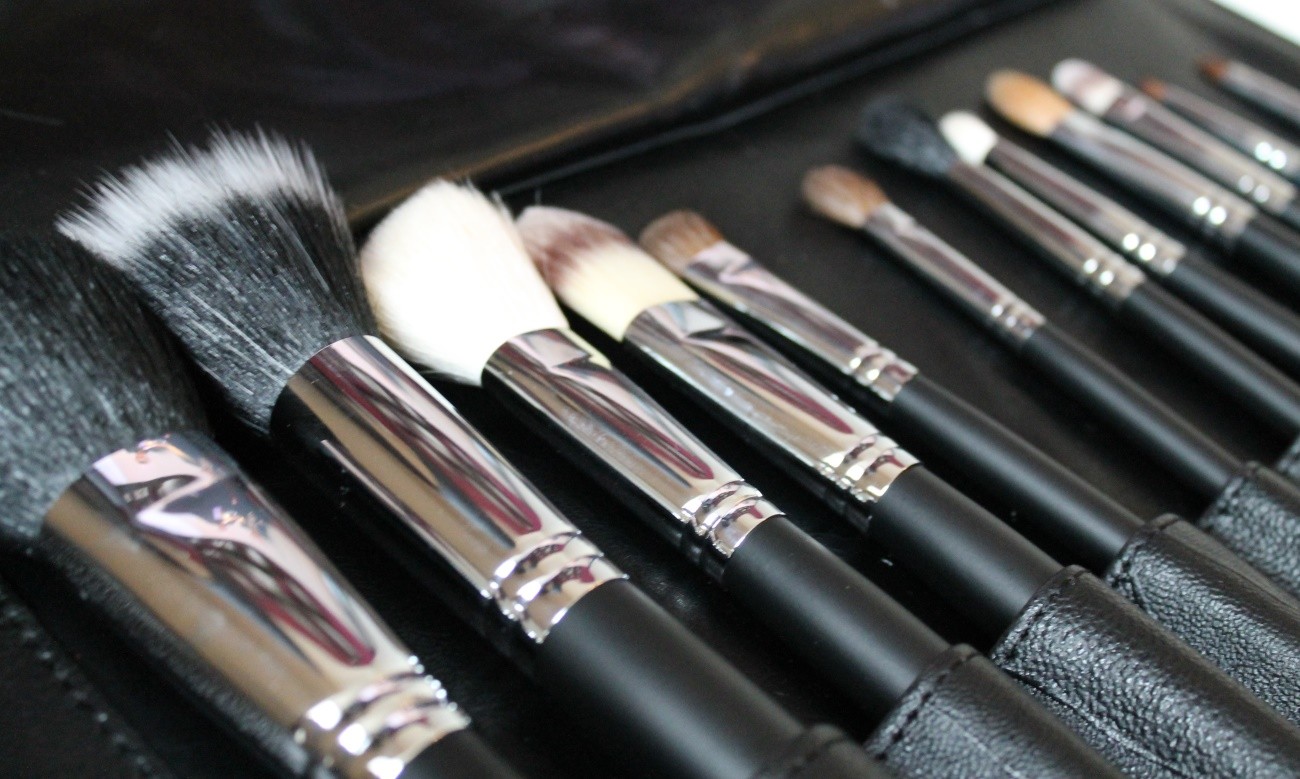
The first thing that she went through was brushes. I must admit that until recently I’d never used brushes to apply my makeup, instead I’d always used my fingers. (I know, I know, using your fingers covers your skin in dirt, grease and all sorts of nastiness.) So when she mentioned brushes, I jumped at the chance to learn more.
After she’d filled me in on which brush is used for what – thankfully it tends to be written on the stem, she showed me how to use them. We also chatted about the best brush brands – Real Techniques and MAC are always good, or for a more earth-friendly option, So Eco have some lovely brushes. (I actually got a set of their eye brushes for Christmas and am CRAZY about them!)
Onto bases
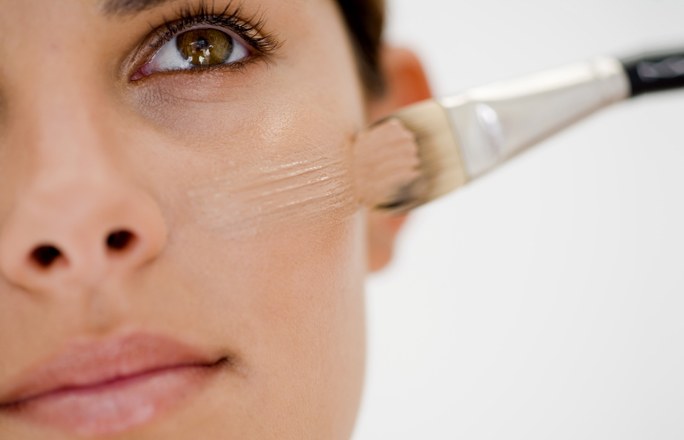
ALWAYS start with primer. If you want skin that’s smooth and makeup that lasts all day, NEVER skip this simple step. For primer, use your fingers (or a sponge) to apply it, just make sure to wash your hands first. The fiance’s sister recommended Yves Saint Laurent Touche Eclat Blue Primer, which I fell in love with as soon as she applied it. I plan to purchase a bottle just as soon as payday comes around.
The next step is concealer, this should be dabbed on with a concealer brush and blended in. For best results, apply under the eyes, around the edge of the nose, and on any blemishes. (If you get dark circles, a yellow-toned concealer is best as this will help to mask the dark areas.)
Once you’re all concealed up, it’s onto foundation or BB cream – this is where things get tricky. The problem is we’re spoilt for choice, there are just too many bases to choose from. Personally, I don’t like too much coverage and so I tend to opt for BB creams more than foundations, but each to their own. While doing my makeup, the fiancé’s sister used Lancome Hydrozen BB Cream, which gave me perfect coverage. (I loved this BB cream so much that at the end of the month, I’ll be treating myself to it.)
I had always used my fingers to blend my foundation, but the fiancé’s sister explained that a flat brush was best as it gives a more natural-looking finish. One of the best tips she told me was that when applying foundation using a flat brush, don’t use strokes instead buff it in. This gives your foundation a smoother finish. Another tip that I learnt was that once you’ve applied your foundation with a brush, you can then use a Beauty Blender to ensure it’s properly blended. (I prefer to use a finishing brush but each to their own.)
And finally, once all your bases are on, all you need to do is dust your face with translucent powder. I use Rimmel’s Clear Complexion Powder, and love the natural results. (I’ve used this powder for years and swear by it, it’s one of my makeup staples.)
Bronzer time
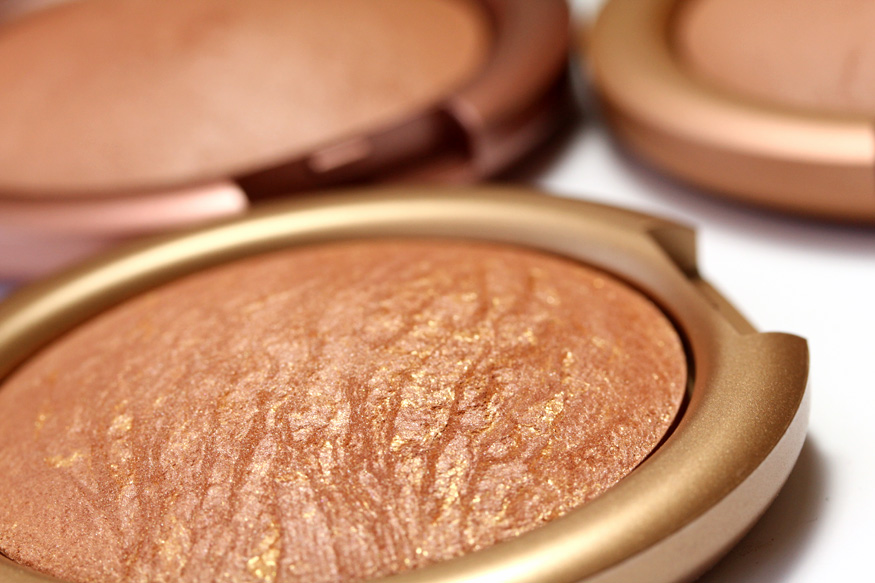
I don’t know about you, but I have always used bronzer OR blusher, never both. But as the fiance’s sister informed me, we should actually be using both. (Don’t worry, it’s a mistake that a lot of people make!) We’ll get to blusher a little later on, but for now let’s talk bronzer.
I have always applied bronzer just under my cheekbones and then blended it up onto my forehead. However, the best way to apply it is starting on the forehead near the hairline, going down under the cheekbones and then out along the edge of the cheek and under the chin, making a three shape.
How to highlight

Brace yourself, big admission coming your way. *Deep breath*. Until the fiance’s sister explained about highlighter, I had very little idea what to do with it. I knew it was to help illuminate your face but had no idea how to go about using it. Luckily for me, I was in the hands of an expert!
The good news is that highlighting couldn’t be easier, all you need is a good highlighter or two and you’re set. (Since buying my first highlighting palette from Seventeen, I have become a little obsessed – it’s becoming a problem.) So how do you highlight? Using a cream or powder highlighter, apply a small amount using a brush on the bride of your nose, your cupid’s bow, and on your cheekbones, blending up towards your forehead. You can also use a small amount of highlighter under your brows and in the corners of your eyes to help open them up and make them look larger. Oh, and the most important thing I learnt is to blend properly and not to go too mad with the shimmer.
Blush time

When it comes to applying blusher, don’t use too much and always use a shade that’s not too dark for your complexion. I like The Balm Cosmetics Frat Boy blush, as it adapts to all skin tones. The key to blusher success is simple – apply it to the apples of your cheeks, up onto the cheek bone and then subtly blend it down.
Big, beautiful eyes
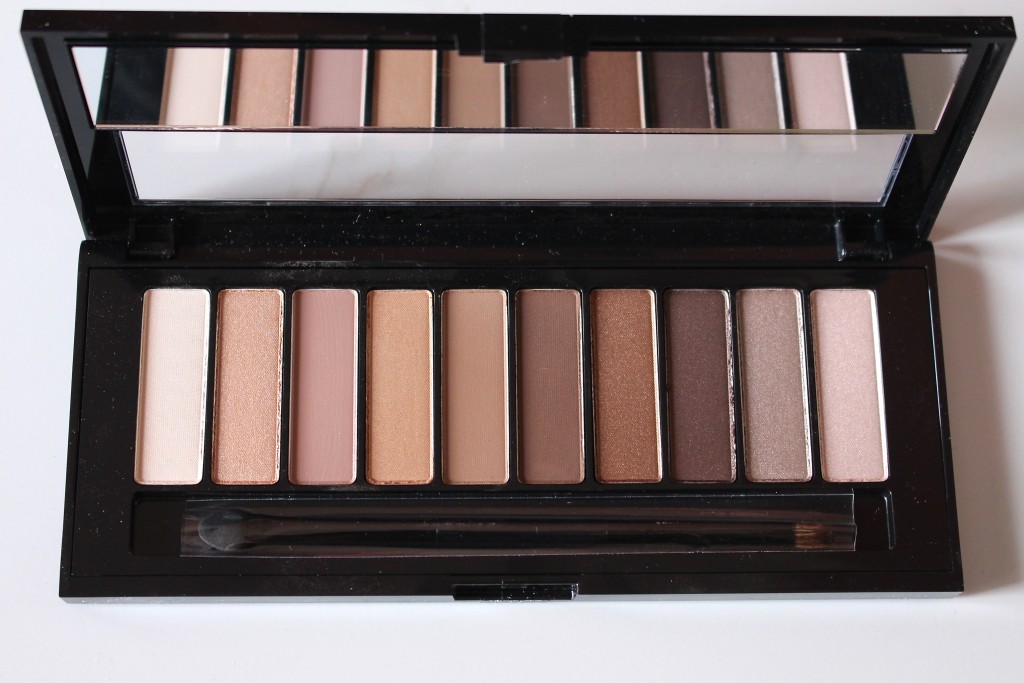
For big, beautiful eyes, start by picking the perfect eyeshadow. You know those elaborate shadow designs made up of a million colours – don’t even attempt to do them. Instead, stick to using one to two colours and blend them in using a blending brush. At the moment, I am crazy about pink-toned nudes and pearly shades, so I tend to stick to them.
Next, up is highlighter. We’ve already talked about highlighting your eyes, but just a little reminder that for eyes that pop, highlighter is a must. The good news is that most eyeshadow palettes come with a light shade – normally cream or white, that’s perfect for using to highlight around your eyes. To highlight my eyes, I use an angled eyeliner brush and dot my chosen highlighter in the inner and outer corner, as well as along the lower lash line. However, if you struggle using a brush, there are some amazing highlighting pencils to choose from. (Jelly Pong Pong do a lovely one.)
And finally, let’s talk eyeliner and mascara. The truth is, we all apply liner and mascara differently, and that’s fine. However, one hack I learnt for my liner is to blend it with a blending brush to make it a little more natural.
And that’s it, everything that you need to know about basic makeup application. Knowing someone who works in the makeup industry has some fantastic perks, the best one being all the makeup application tips.
Did you enjoy reading this handy guide? I’d love to hear what you think.

Leave a Reply